Are you tired of gluing and tearing? Here you can find out how you get crispy skin without any non -non -non -stamping
:max_bytes(150000):strip_icc():format(jpeg)/20250812-SEA-SearingSkilletTip-VickyWasik-ce9de0d58c574ba8b11aef3248c74229.jpg)
For fish with crispy, golden skin that does not adhere to the bottom of the pan, dry the skin thoroughly, add enough oil to coat the pan until they see the weakest smoke and mostly cook down without moving it before freaking.
Only a few noises in the kitchen are just as exciting for me as the first zizzle of fish skin that beats a hot pan. The crackling of fat and the weak sea of the sea, which becomes hearty, are a promise that they are only a few minutes away from a piece of fish that is crowned with a golden, shattered crust. Properly made, crispy skin is a work of art: glassy and wafer that makes soft, juicy meat give way underneath.
And yet many chefs encounter the darker side of this story when they use a stainless steel pan to roast fish. To be careful to be careful, you just get rid of your fillet, your spatula just to let go of the skin in the pan. They pull once and then again until it is finally published – behind a sad skin stain where there should be a crispy golden leaf. The moment that should be triumphant is turned into a quiet defeat in which you swear that you will never cook fish in stainless steel again.
But it is not the fault of the pan. With the right preparation, heat and touch, stainless steel You can give you the kind of crispy, intact skin that you belong to for only restaurant kitchens – and in my cooking in restaurants, stainless steel was exactly what I used during the day.
You could be tried to achieve insurance insurance for a non -Steak pan, but the skin will never achieve the same crispiness that you get from stainless steel. And while the following steps work in a well-seasoned carbon steel or cast iron pan, you do not need a special form to achieve great results.
6 important steps to the scay fish in a stainless steel pan
1. Start with bone -dry fish skin. Moisture is the enemy of crispy skin. Every water on the surface must evaporate before the browning. Otherwise, the skin dampens instead of Sears. Use the edge of a knife to scrape the skin gently – there will be surprising moisture beads. Wipe the blade clean after each pass until it arrives dry and tap the fillet with paper towels. The drier the skin is, the faster it scratches.
2. Use enough oil to coat the pan. For the crispy skin you need enough oil to fully coat the pan, but not so much that you are the pan brown. In a pan, the fish sat in a flat pool of bubbling oil that comes on the way on the sides. Here you only want a thin layer that covers the floor (remember, more as a flat puddle than as a slick). For a 12-inch pan, this usually means about three tablespoons of oil. Whisk the pan so that the oil covers every centimeter before turning on the heat. Use a neutral, highly heated oil such as canola, grape lake or peanut for more temperature control, but Olive oil also works– Just note that it has a lower smoke point and will start to smoke earlier, so keep an eye on it.
3. Heat the pan until the oil begins to smoke. Fishing thickness when its proteins connect to the metal before they have the chance to cook. Oil that is hot enough will fry these proteins immediately and create a barrier. To ensure this, heat the oil in the pan with a medium height until you climb the slightest indication of smoke from the oil. Every cooler, and the skin can glue; Every hotter and the oil smokes strongly, burns and triggers your fire alarm. Some people test the pan by injecting a little water into the pan after heating, but before the oil is added. When the droplets pearl and dancing over the surface, it is assumed that the pan is finished. This happens due to the suffering frost effect, in which water skidths on its own layer steam layer but it can also occur after the overheated pan, which makes it a less ideal test. I do not recommend this method here because you achieve more reliable results by observing this first weak smoke track from the oil instead.
4. Test before you commit yourself. Lower the fillet, the skin side down, but don’t let go. Pull it gently over the surface of the pan – if it glides like an ice -cherry, you are good. When it catches, pull back and let the pan heat a touch for longer. This slow, controlled lowering also prevents hot oil from hitting.
5. Press the fish flat. Skin-on fillets lure as soon as you hit the heat. Use a thin one for even browning Slot spatula To push the fish down for the first 30 seconds or something – just enough to keep the skin in full with the pan.
6. Let it be. As soon as it is in the pan, resist the urge to nudge the fish, nudge or turn around. The skin needs constant contact with the heat too crispy. If necessary, slightly lower the heat to avoid burning and cook almost completely on the skin side. Flip only when the meat has become largely opaque and only a thin, translucent strip runs through the middle. After turning around only for 20 to 30 seconds – disappearing until the last piece of transluzz – remove the fish immediately from the pan so that it cannot boil over.
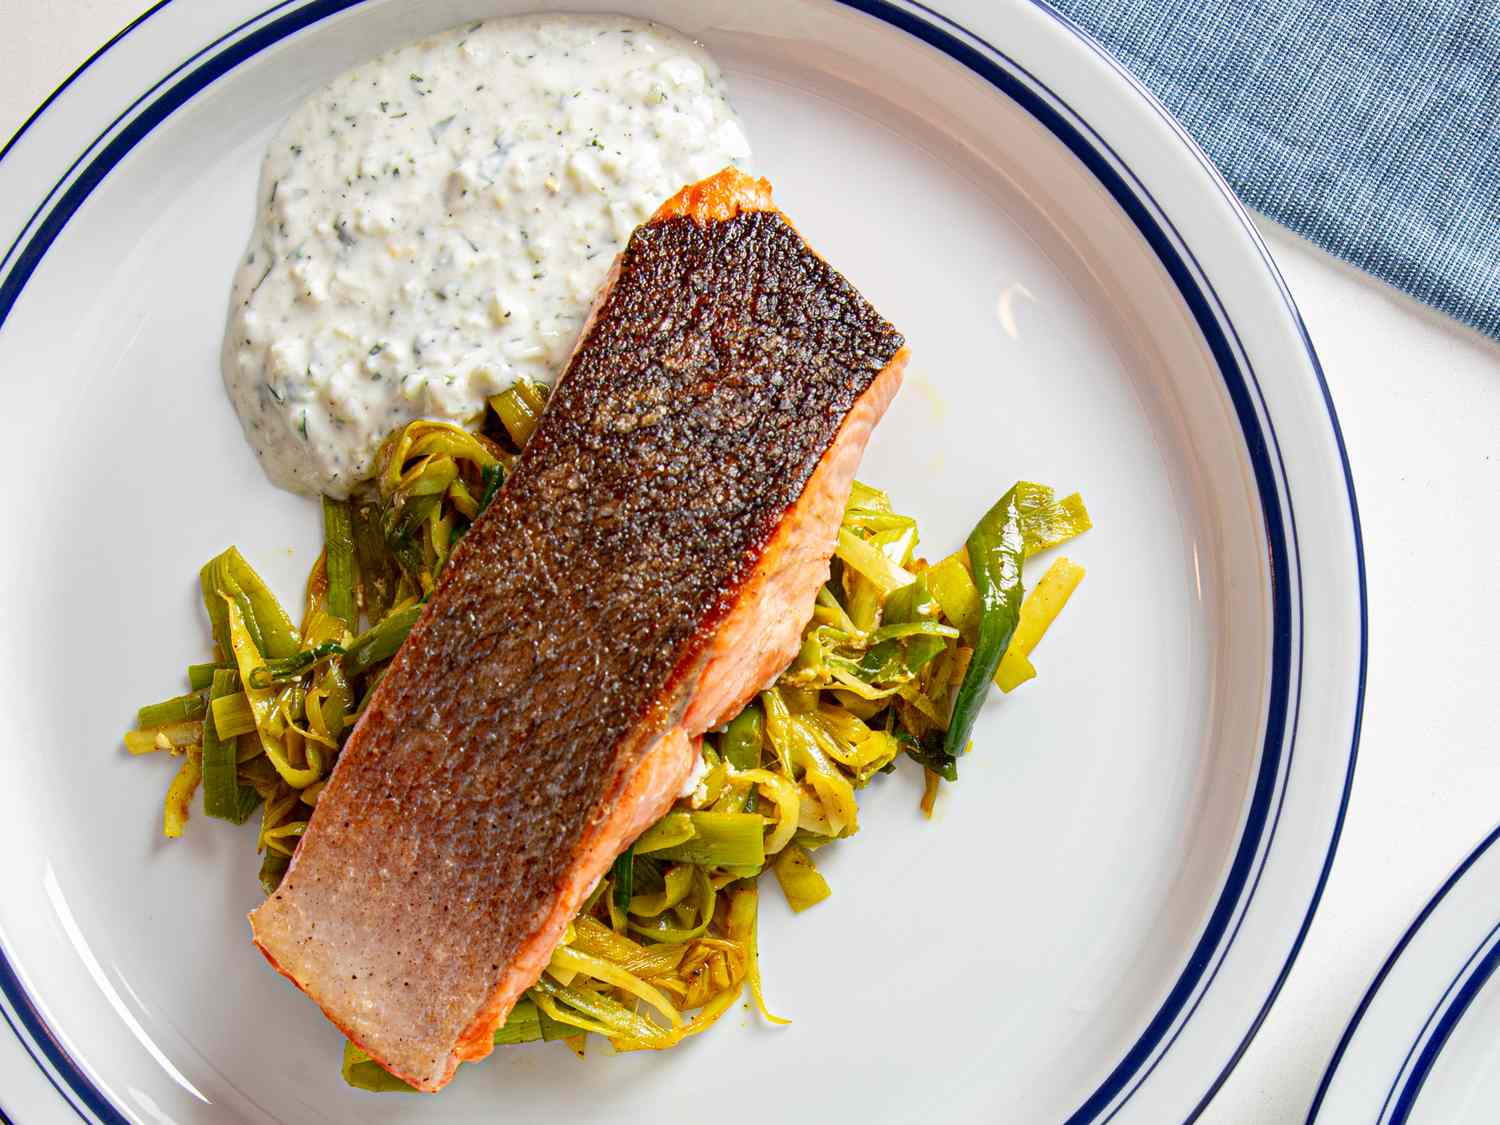
How to serve pan fish
Perfect Fried fish fillet Doesn’t need much to shine. Serve it directly from the pan with a spacious lemon and a scaly with a scaly salt or put it over one The green bed For a dinner a week. Or flatten it next to roasted potatoes And Aioliwith a spoon of Green sauceOr transmit soy sauce via rice with a splash and Chili -oil. The nice thing about the perfection of stainless steel is that even the simplest piece of fish turns into something really special – fast enough for a Tuesday evening, impressive enough for society. And with these professional tips you get the crispy, golden skin every time – without the chaos or heartache sticking to the pan.