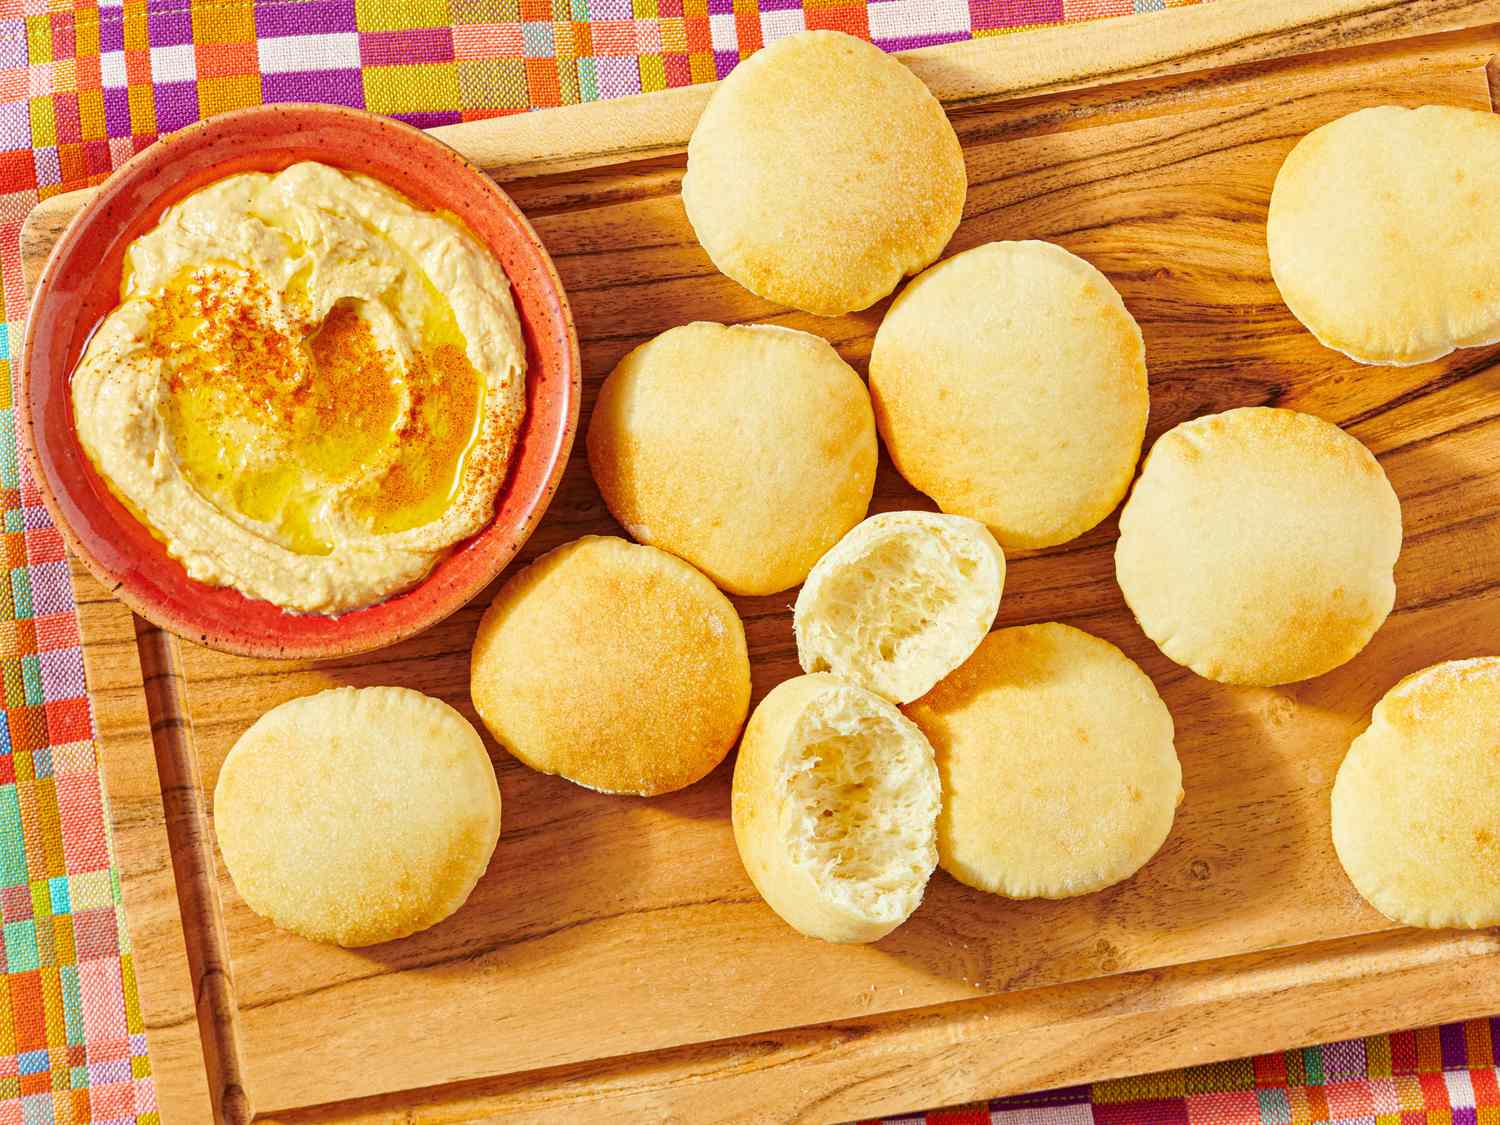
The simplest method for the production of bakery-worthy Pita-noisy oven required
:max_bytes(150000):strip_icc():format(jpeg)/20250828-SEA-AirFryerPita-QiAi-HERO-eea9f51ab7384114b0e9cdf8b58527ee.jpg)
Why does it work
- The enrichment of the dough with milk and milk powder increases the browning and delicates the dough, which makes it even softer and fluffier than a dough alone from water.
- The punching of the Pita dough with a biscuit cutter seals the edges of each disc, which helps the bread to lift beautifully and evenly.
- The ability of the air fry to circulate air quickly boils evenly and leads to bread with a crispy outer and a soft, fluffy interior.
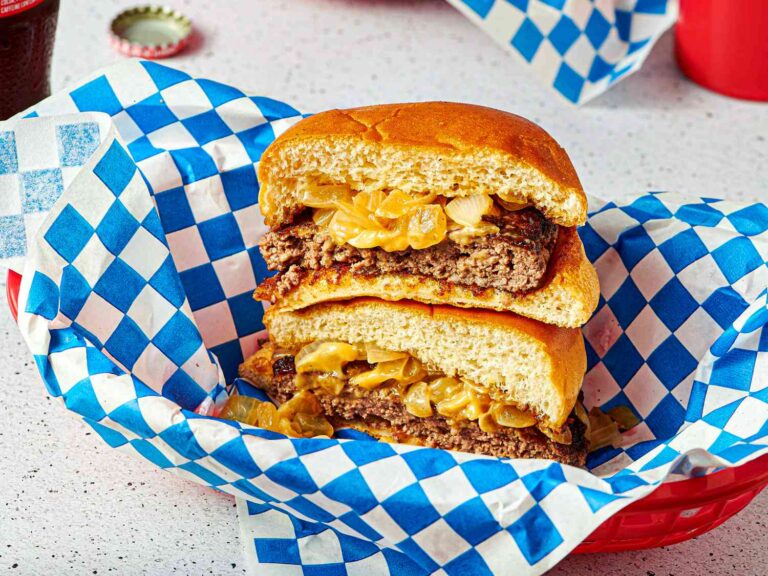
When I grew up in Egypt, my family never baked Pita at home. It was everywhere and incredibly affordable; A short stop in every bakery or a supermarket was everything you needed to fill a bag with a warm, freshly made pita. Happiness was for me – and it is still – in one of these warm rounds that stuffed them with feta and green olives and lets the cheese melt slightly over the salt olive.
Since Pita is available in grocery stores in both Egypt and in the United States, where I was based for a long time, I never had a reason to do it at home. However, when the pandemic goal began to experiment with the baking of my own pita: first in the ovenThen in the air fryer. I finally landed on a version that is soft, but still robust enough to keep its shape when it is filled with crispy Ta’amia (Egyptian falafel), creamy tahini sauce and spicy cucumber.
If you make your own pita, you may sound intimidating, but it is really one of the simplest bread that you can prepare at home. Experience Creamy dips Whenever you want.
Serious eating / qi -ai
Why bake pita in an air fire?
Air fryers are practical devices that work like convection stoves. They quickly circulate hot air to cook efficiently and make them a great way to eat too brown and crispy. This setup is ideal for pitas, for which a very hot and ideally consistent temperature is required for cooking and adjusting the outdoor area of the dough. When the pita bakes, this heat creates in the inner steam and helps every bread to inflate. Since the exterior of the bread is already defined, it is robust enough to resist the burst and ensure that the steam pocket remains intact.
Although the oven is perfectly fine for baking Pita, I prefer the speed and convenience of the air roast. The device only takes a few minutes to heat up and its ability to circulate air and keep its temperature – both for the production of large PITA – is generally much more consistent than many larger stoves.
Mix and knead
My recipe below requires an active dry yeast that has to be activated before use in warm liquid. I recommend using milk at a temperature of 40 to 43 ° C, which is just hot enough to activate the yeast without killing it. A little honey helps to start the process. You should see that bubbles develop in just a few minutes.
In my recipe I enrich the dough with a combination of whole milk and milk powder. Although these ingredients are not traditional in classic pita, they contribute both fat and aroma: the sugar and proteins of the dairy products help improve the tan and make the dough tender, which makes it even softer and fluffier than a dough that was made with only water.
Make sure to knead the dough thoroughly. The dough requires at least 10 minutes knead in a blender. I do not recommend kneading it by hand, unless you are looking for an arm training. This step is crucial for development enough gluten To support the structure of the dough, they let it prove and rise without tearing or collapse. Gluten consists of two proteins: Glutenin and Gliadin. If you add gluten flour to liquid, the proteins form too long, curly chains. Knead helps to further promote the formation of gluten and to disguise, align and strengthen the gluten chains and to generate a dough that is resistant enough to withstand stretching and shaping.
Serious eating / qi -ai
How to form Pita
The simplest and The reliable way of shaping Pita bread is to roll out the dough until it is about 1/4 inches thick, rest and then cut out rounds with a circular cookie cutter. This method not only saves time, but also ensures a uniform thickness, while the edge of each hard drive is sealed, which helps the pitas to build up beautifully and evenly. It is much easier and more consistent than divide the dough into the same balls and roll out individually individually.
It is important to let the rolled out dough rest before cutting the slices. This relaxes gluten, makes the dough more easier to work and prevent the rounds from shrinking, jumping back or becoming wrong. For the best results, make sure that each hard drive has a smooth surface that contains free of holes or wrinkles, which can affect the puffing.
The ideal size of a pita for the air fryer really depends on its preference and the size of your air ravage drawer. Although in my recipe I am a 3-inch biscuit cutter in my recipe, what I ideal for serving at a dinner or at a cocktail party-also works there that two to eight inches work well (if you have a ring cutter that is large enough for the top end of the spectrum). Simply make sure that the Pita can easily fit into the air fryer and adjust the cooking time as required. Larger Pita will probably need several minutes.
As soon as the Mini -Pita breads come from the air roast, put them in a basket and cover them with a clean kitchen towel to keep them soft and warm until they are ready. With a few pantry base foods and an air fryer, you can have wonderfully fluffy pita to fill, draw and have snacks whenever you want – no trips to the necessary bakery.
Serious eating / qi -ai
The simplest method for the production of bakery-worthy Pita-noisy oven required
Cooking mode
(Keep your screen awake)
1 cup ((240 ML) warm Full milkat about 100 ° to 110 ° F (38 ° to 43 ° C)
1 teaspoon ((3 G) active Dry yeast
1 teaspoon granulated sugar Honey
3 Cup All -purpose flour ((13 1/2 Ounce; 384 G)))
1/2 teaspoon Diamond crystal Kosher salt; Use half as much of the volume for table salt
2 tablespoon dehydrated Fully milk powder (to 1/2 ounce; 15 G)))
1 tablespoon ((15 ML) Extra virgin olive oil
2 up to 4 tablespoon (30 to 60 ML) warm Waterat around 100 ° to 110 ° f (38 ° to 43 ° C) plus more if necessary
Mix warm milk, yeast and honey or sugar to combine in a small bowl. Let it sit down until the mixture becomes until foamy for about 5 minutes.
Serious eating / qi -ai
In the bowl of a stand mixer with the dough hook attachment, flour, salt and milk powder to combine. Use the mixer to low or until the oil is fully absorbed for 3 to 5 minutes. Add to low speed, milk and yeast mixture with the mixer, increase the average speed and knead. If the dough looks too dry (like a shaggy mess), add warm water, 1 tablespoon at the same time until the dough is soft and slightly sticky. Keep kneading, the dough pulls back from the mixer bowl for 10 to 15 minutes.
Serious eating / qi -ai
Serious eating / qi -ai
Cover the bowl with plastic film and/or a tea towel and let yourself be sitting on warm room temperature (75 to 80 ° F; 24 to 27 ° C) until the size doubles for 30 to 40 minutes.
Serious eating / qi -ai
Place a 13-times-18-inch baking sheet with parchment. Slightly flour through the parchment; set aside.
Serious eating / qi -ai
Roll out the dough on a slightly floured work surface to 1/4 inch thickness. Let it rest for 10 minutes until the hard is soft and easy to use.
Serious eating / qi -ai
Put out 10 parts of dough by cutting out a slightly floury 3-inch round of biscuit cutters. Transfer to the prepared baking sheet, cover it easily with a kitchen towel and let yourself rest for another 10 minutes until the bread is soft and slightly risen.
Serious eating / qi -ai
Preheat the air roast to 175 ° C. Order as many pitas as you on the bottom of the air roasting basket, each of which is about 1 inch. Bake until they are inflated and lightly golden, about 5 minutes on the edges. Repeat this with the rest of the pita.
Serious eating / qi -ai
Serious eating / qi -ai
Special equipment
Snail, blender, 13- x 18 inch baking sheet, parchment paper, round 2-inch cookie cutter, air roast
Notes
If you don’t have a biscuit cutter, use the edge of a round glass to portion the Pita dough.
To create a larger pita, increase the baking time as required. An 8-inch hospital takes about 7 minutes to make a fryer in the air.
Make-based and storage
After cooling, the Pita can be stored in an airtight container at room temperature for up to 2 days or cooled for up to 5 days. Pita can be frozen in a zipper bag with a parchment between any pita. Warm up directly from frozen in the air fryer. Alternatively, frozen Pita can be wrapped in foil and warmed up in a 450 ° F (175 ° C) until they are warmed up.